An electric fence is a simple and effective way to keep livestock, predators, and human beings in or out of an area. Installing one shouldn't be a considerable expense, especially as a barbed wire fence typically costs twice as much and lasts half as long.
If you take a little time and trouble to prepare and plan properly, there’s no reason you can’t build one yourself. Mobile or temporary fences are also available and are easy to move. They use light, easy-to-move posts and are ideal for dividing your pasture into smaller sections.
Through this article, we’ll help you build a permanent and long-lasting electric fence for large farm animals.
Table of Contents
How To Build An Electric Fence For Cattle
Follow these steps and you’ll be building your fence more cheaply than compared to contracting a professional outfit.
Step 1: Track The Total Length Of The Fence
You can pace the total area or use your smart phone’s measuring app to get an approximate distance, but a measuring wheel (also known as a click wheel, hodometer, or waywiser) or a GPS-enabled device will give you the exact measurement.
The length of the fence is useful when deciding on a charger and controller to ensure enough power is being delivered.
If the electric fence energizer you use receives its power from a solar module, ensure it’s located in a spot with direct sunlight, away from trees or other objects that may shade the solar panel.
The most suitable electric fence posts for permanent fencing are known as T-posts. These posts are usually of high-quality rolled tail steel which is exceptionally durable. They typically have a long bottom section with a structure allowing you to use your foot to “tread” them into the ground.
The rigid material used means they have a narrow profile and are therefore easier to drive into the ground.

Ideally, the fence should consist of three horizontal wires at equal height increments. They should be connected to the posts by attachments called insulators. These insulators hold the wire but do not allow contact with the fence post. They insulate the wire from touching the bar, hence their name.
A sharp end to a fence post is not advisable. Cover this end with a soft plastic cap if you choose the ring type.
Step 2: Ground The Rod and Wire
Next, you’ll need to install the ground rod. The rod should be about six feet tall and can be galvanized steel or copper.
Use a sledgehammer or a fence post driver to drive the ground rod into the ground within 20 feet of the controller, leaving the top two to three inches exposed.
Strip the insulation from the ground wire and wrap the steel core around the fence line. Using a carpet knife, cut back enough of the insulation coating on the wire to wrap it around the earth bar.
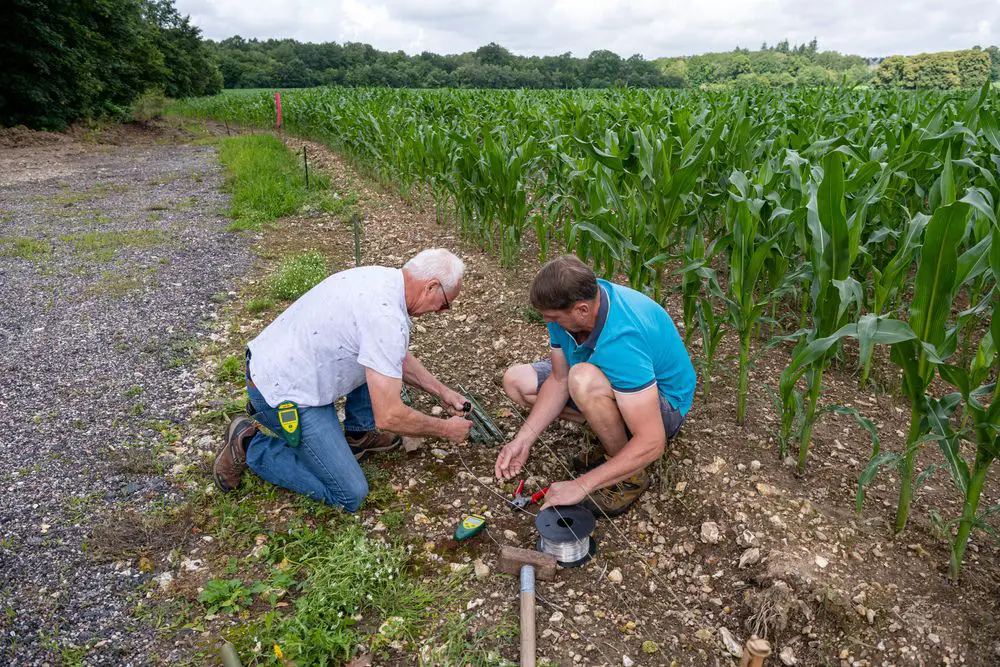
A steel clamp should hold the ground wire securely on the earth bar. Loop the wire around the bar and attach the clamp. Ensure the ground rod is clear of underground power, telephone, or water lines.
Instead of the looping technique, you can use a connector by attaching the end of the ground wire to a crocodile clip.
Use reels of electric fence wire specifically made for electric fence wiring. Polywire is electricity-conducting twine specially designed for use in electric fences. Make sure you choose the heavy-duty type to avoid changing it too frequently.
Another choice is electric fence polytape. This tape is strong and especially useful for areas with faster-moving livestock, such as horses, although cows can run fast too.
Polywire and polytape are lightweight and will not rust but old-fashioned steel wire is the most conductive. Your steel wire earth cable should be 10- to 14-gauge copper or aluminum wire and have the correct insulation.
Step 3: Drive The Fence Posts and Feed The Wires
Drive the fence posts into the ground, with each post 3 yards apart. Choose a damp area for your fence, or place the bars soon after it has rained for easier placement.
Next, connect each wire at the end of the fence line cable to the most suitable terminal.
Here is what the colored cables reference:
| Black cable | Low voltage |
| Yellow cable | Medium voltage |
| Red | High voltage |
| Green | Earth terminal |
Choose insulators that work best with your type of fence posts. Attach the top level of insulators a the right height for the animals that are going to be enclosed. Generally, the rule is to place the highest insulators at the same height as the animal’s nose.
Start at the end of the fence, ensuring the wire runs through each insulator mounted to the post and doesn’t touch the post or any part of the fence. There is no need to cut the wire at each insulator point. You strip the wire, loop it around the insulator once, and then carry on to the next post.
It’s also essential to ensure the wire is tight enough to not sag between fence posts.
You may need to add a wire gate between two sections of the fence if it is on a public footpath, or a cattle guard for public roads. Ensure an insulated handle is attached to the wire.
Step 4: Check Your Fence Is Functional
Once the electric fence is live, check it regularly to ensure it’s still working at peak capacity with a voltage tester.
Your charger will have a voltage meter or an LED display indicating whether the fence is working correctly. If not, look for touching wires, grass, or other debris touching the wires.
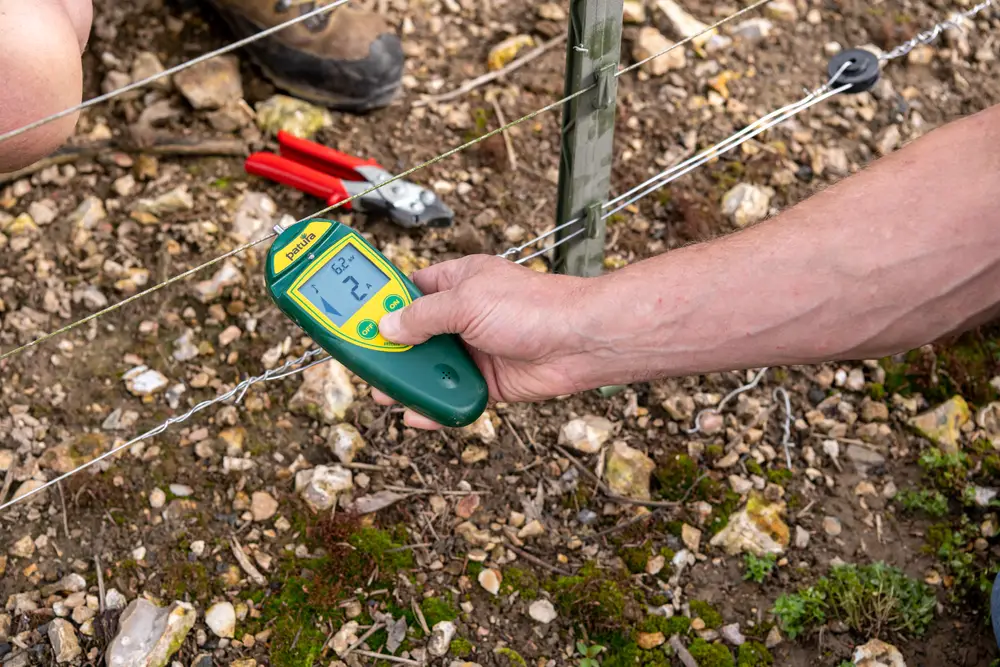
An electricity fencer (or fence energizer or electric fence charger control unit) works by converting electricity into a high-voltage pulse. If an animal touches the wire, this pulse will run through the animal and into the ground.
You’ll feel a shock because you are completing the circuit, i.e., the electricity can ground through you.
Plenty of earth rods are essential for a properly functioning electric fence. Longer fences may also require a high-tensile wire.
Step 5: Ensure The Earthing System Works
To check if the earthing system is working properly, drive a steel bar into the ground and push it against one of the electric fence lines.
Turn on the fence and measure the voltage between the last earth bar and the ground. The voltage should be less than 50 volts, indicating the earthing system is good. Greater than 500 volts means more posts are needed.
Contrary to popular opinion, the number of volts is not what provides the shock. It is the amount of energy or joules that enters the animal.
This energy is not proportional to the circuit voltage. However, the voltage must be higher than the resistance of the fence wire or animal – no power can flow without sufficient voltage.
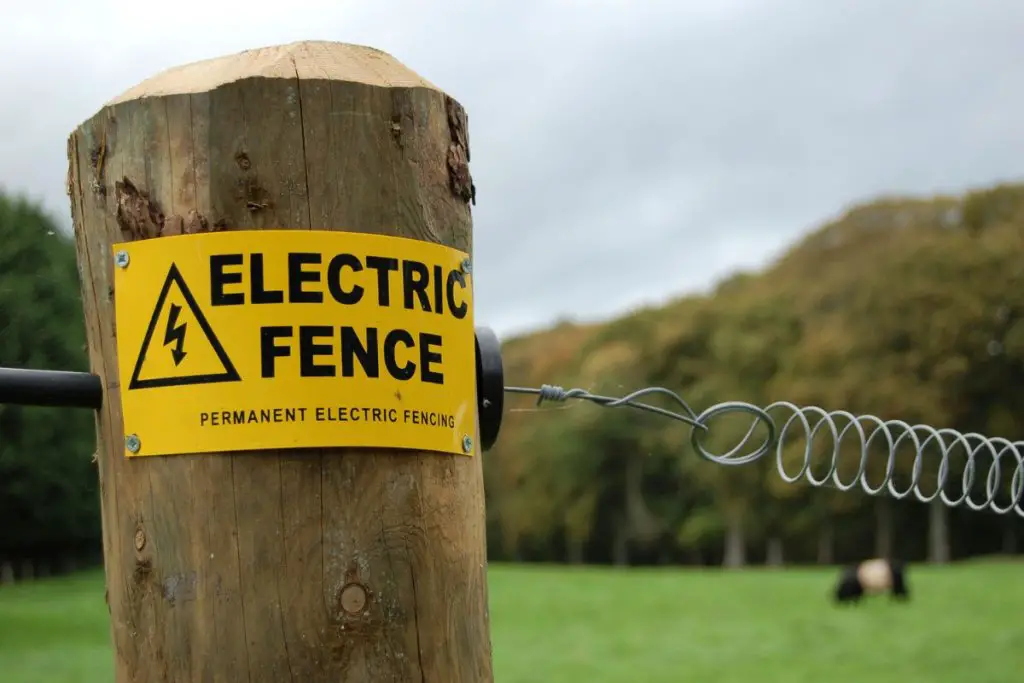
Last but not least – install plenty of warning signs, especially if your farm has children and/or is publicly accessible!
Insulators and Other Fencing Components
Insulators provide the support for the wires running along the fence but, most importantly, do not allow contact with the fence post. As their name suggests, they insulate the wire from touching the post.
They aim to stop shortcircuits when a live wire touches a metal fence post, and so any material used to make an insulator is always non-conductive. Most popular insulators are plastic but porcelain and even wooden ones are available.
The type of insulator you use depends on what kind of posts and wire you are using, and, don’t forget, the effectiveness of a fence is only as good as its insulators.
Plastic Insulators
Plastic insulators are usually molded polyethylene, polycarbonate, or nylon. Of these, high-density polyethylene (HDPE) is the most durable. HDPE is resistant to ultraviolet light, preventing arcing. It is also particularly resistant to the elements.
Many styles are available due to insulators having to be compatible with the kind of wire and fence post the user chooses. There are several types of plastic insulators, including T-post and round-post. You can also buy ones suitable for wooden poles, post corners and ends, and chain-link fences.
Porcelain Insulators
Porcelain insulators were the original choice for electric fence insulators. Fast forward to today, however, and they can no longer compete with HDPE versions.
Porcelain is made of clay, quartz, and feldspar and is very brittle. This quality has always been a problem. The slightest damage, even cracks undetectable to the human eye, suffered during manufacture, transit, or installation could render them inoperable at the first sign of strong winds, heavy rain, or lightning strikes.
They are heavy in comparison to HDPE insulators and also more expensive. Freeze-thaw and impact from flying debris can also easily damage porcelain insulators.
Porcelain is also incompatible with HDPE coated cable. A difference in dielectric constants means the porcelain will eventually damage the polyethylene insulation.
Ring, Handle and Cap Insulators
Ring insulators are designed especially for cables, whereas flatter designs are for polytape. There are also insulators for any corners or tighter angles your fence might have, or even a gate handle insulator if your fence has a gate.
You can go two ways when buying an insulator for the top line of the fence. The standard ring variety is attached to the pole’s shaft a few inches from the top. You can also choose plastic “cap” type insulators on top of the fence post.
They usually have eyelets which make it simple to thread the cable through. These caps have rounded tops meaning cattle or other livestock cannot impale themselves on the end of the fence posts.
Strainers
Tensioning the fence wires is important and this is best done by using a strainer which are easy to fit.
Slide the wire through the strainer for approximately six inches. Grasp the loose piece of wire and fold it back, so it loops around the wire on the other side of the strainer.
Bend the loose piece of wire 45 degrees so it acts as a handle, and continue looping the loose part of the wire around the length between the post and the strainer. You should aim for six to eight loops.
Use a pair of wire cutters to remove the excess. The strainer should now be firmly attached to the wire.
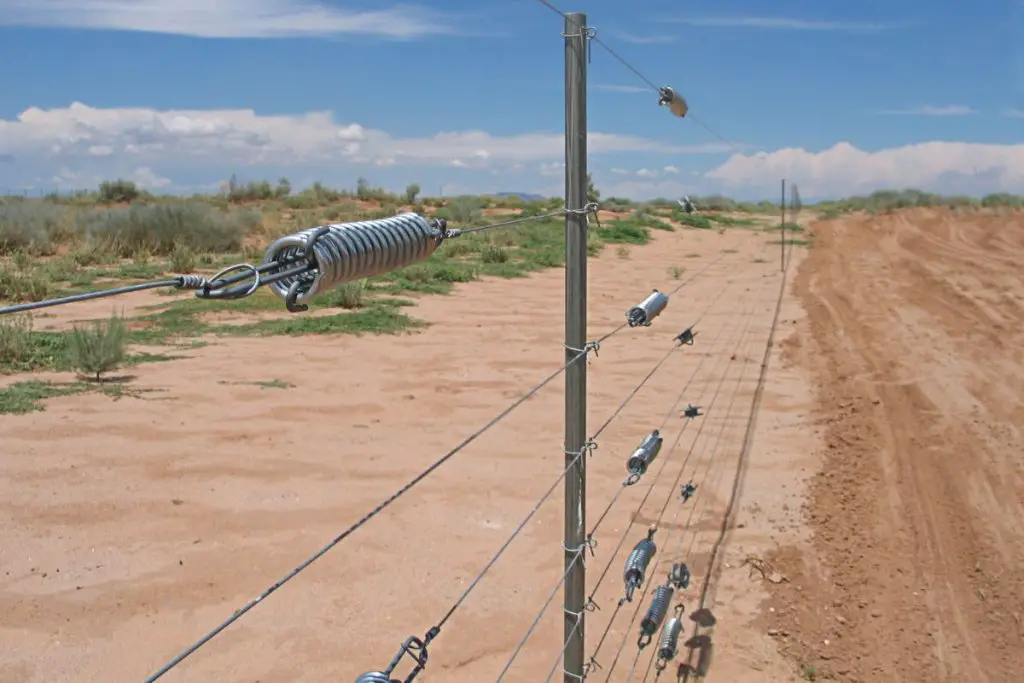
Now you’re going to connect the wire from the other direction. Poke the wire through the hole in the spindle between the two outer-toothed wheels. Use a pair of pliers to bend the tip of the wire 45 degrees.
Pull the wire back, so the bend in the wire prevents it from coming back out of the spindle hole. Use your fingers to turn the bolts protruding from the toothed wheels. When you’ve achieved a certain degree of tension, use a wrench to tighten the wire to the required pressure.
Impedance
Impedance is how one measures the opposition to the flow of an alternating current in a circuit.
There are three types of impedance for use in electric fence energizers:
| High-impedance energizers | Have largely disappeared from use because they have long, slow pulses that run the risk of starting fires. |
| Solid-state energizers | Provide a shock of medium amperage and have a medium duration pulse. This kind of charger would be ideal for a garden fence dealing with smaller animals. |
| Low pulse chargers | Have a pulse duration of under 0.003 seconds but are ideal for cows. Very useful for fences that might become overgrown as the pulse will penetrate grass, weeds, and other vegetation. |
