Hand milking a cow is relatively easy. You'll need some simple tools available at any hardware store, plus patience and dedication. Within 2 to 3 weeks, you'll have your routine refined and begin to feel very comfortable with the process.
Hand milking stands right at the other end of the scale and evokes memories of milking stools and milkmaids carrying pails on a heavy wooden yoke. With the surge in popularity of homesteading and organic farming, hand milking has become a topic of interest once again.
Table of Contents
Hand Milking Tools You’ll Need
The technological advances on dairy farms have been nothing short of staggering. Automation now covers every stage of the milk production process, including self-attaching milking devices! But you need none of that to begin today.
Here are the simple tools you’ll need to hand milk a cow:
- A clean stainless steel bucket (with a lid if you have a cow that seems to enjoy knocking the bucket over!) that has approximately 1 gallon capacity. Make sure the bucket has a lip and pouring spout as you’ll save so much milk when transferring it to your milk tote!
- About five clean rags. These will come in handy for drying off the teats.
- Milk totes or milk cans with a secure lid. Their capacity depends on how much you can carry – a gallon of milk weighs 8.5 lb; a quart weighs just over 2 lb). You can usually end up with between a gallon and a half and two gallons of milk from a typical dairy cow, so use those figures to calculate how many totes or cans you will need.
- Milking stool so you can sit comfortably. Your back and thighs will otherwise start to ache after 5 minutes.
- Iodine teat dip. The teat dip is an inverted cup fixed to a squeezy plastic iodine reservoir. You put the cup opening over the teat and squeeze the reservoir so the iodine squirts up onto the teat and into the teat canal.
- A container with warm water. This is for cleaning the teats.
- Anti-bacterial soap. Sodium hydrochloride is useful as an additional disinfectant.
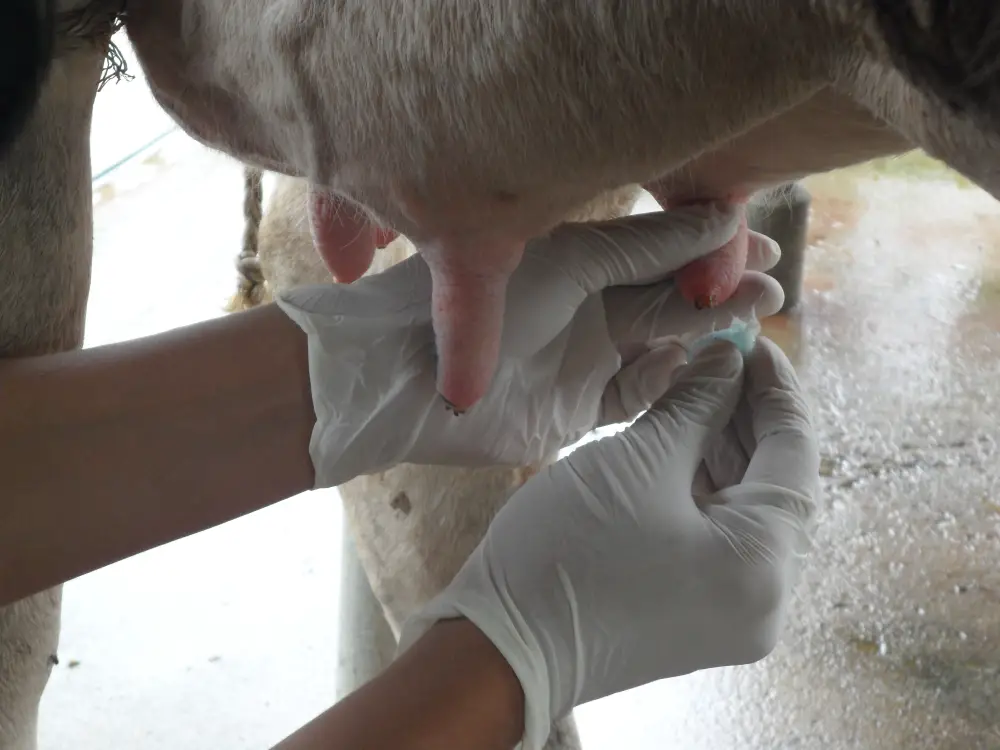
- Nitrile or latex gloves. These can provide an extra level of hygiene, grip and comfort but are not essential.
After milking, you’ll need a strip cup with funnel and strainer, plus some mason jars and space in your fridge for your fresh milk. Ensure all of these plastic tools are made from food-safe plastic.
How To Hand Milk A Cow
A lot of learning to milk by hand comes with trial and error. Although it may start off as a copy of someone else’s, your milking routine will almost certainly become bespoke after a few weeks!
How you go about it alsof depends on you and your cow, such as the shape, size and length of her teats and how big your hands are.
Step 1 – Positioning The Cow
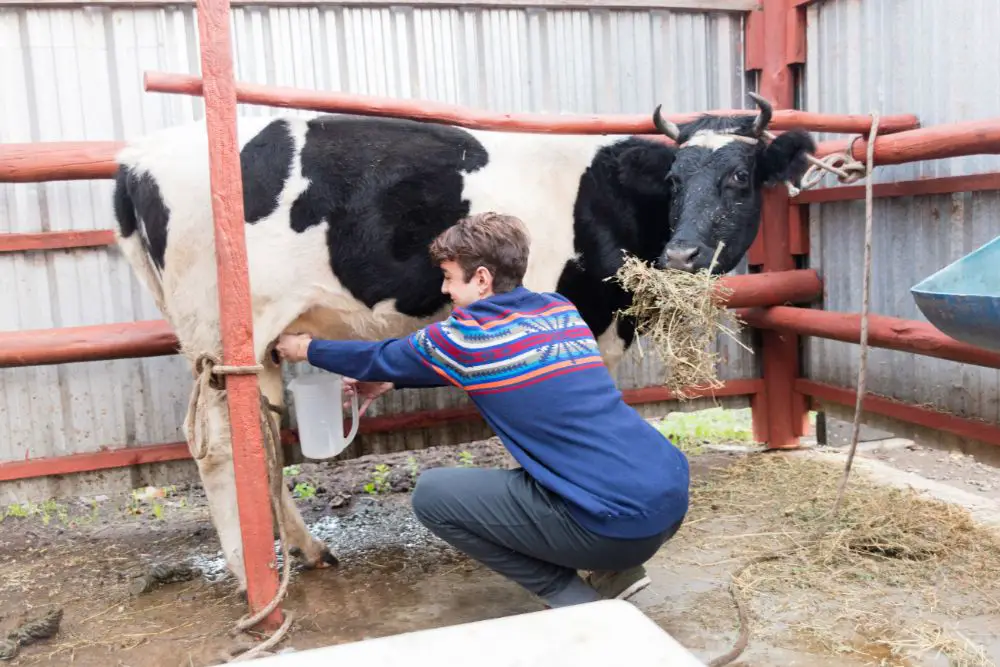
Use whatever is suitable for the cow to keep it still while you milk. Usually, it is enough to use a simple neck collar and halter tied to a fence or railing. You should have trained the cow to stand correctly.
Some cows are excitable and require more restrictive methods to keep them still, such as restraints around their legs, a belly rope, or even a stanchion.

You might need some ingenuity to catch nervous cows before milking. More docile ones will allow you to walk right up to them and lead to the milking site.
You can spare yourself a lot of trouble if you check with the seller about the cow’s temperament when purchasing a new one. The bottom line is to keep the process as stress-free as possible for the cow because milking is an absolute nightmare if she’s not happy!
A typical and effective method is to tie them loosely with the halter so they can move around a little. Provide them with something to eat as a distraction while you are milking them.
The milking area should be quiet, clean, and familiar to the cow.
Step 2 – Cleaning The Teats
Some dairy farmers flame-clip their cows’ udders to keep them clean, although the following steps should be enough.
Wet or dry cleaning is a matter of opinion. You can use a dry paper towel or a special udder cloth. Dry cleaning is the method of choice for some milkers as they argue that surplus water running down from the udder could reach the teat and contaminate it.
For wet cleaning, wash the cow’s teats and udders first with warm water, preferably soapy, and add any extra cleaning liquid you might have. Dry off the teats with clean, dry rags. You can use a salve to moisturize the teats before starting to milk.

Check the teats for residual water or lint from the rags or cloth. Some insist on a further pre-milking teat treatment using the iodine teat dip.
Step 3 – Milking
Gloves are another optional choice. Even the thinnest and most flexible ones remove the “touch” or “feel” that some people like when milking their cow.
Squeeze the teat and release a couple of squirts of milk before you place the bucket underneath. That will remove anything that may be sitting just on the surface or immediately inside the teat.
The initial squeeze will also stimulate milk let-down; it takes about a minute for the oxytocin response. So to optimize the milk flow, start about a minute after the final step of the teat-cleaning process.

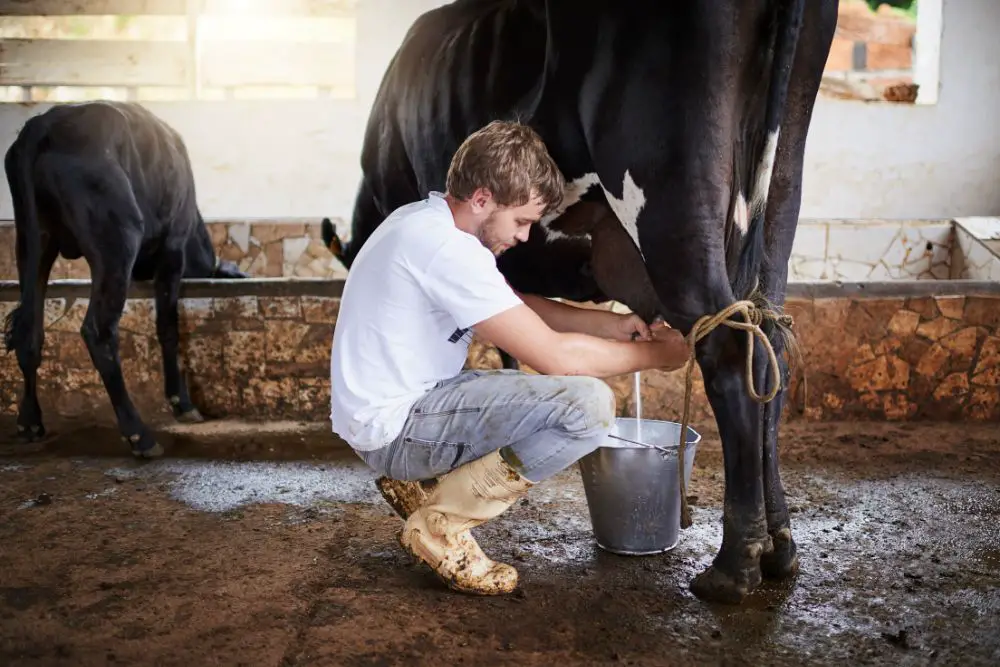
Place the bucket underneath the teats and start the milking process. There is no right side of the cow to milk from; it is just a matter of preference or convenience.
If it’s practical, build a bucket holder in the ground. While not entirely stopping any lost milk, slotting the bucket into the holder will prevent big spills if the cow is prone to knocking the bucket over. This is most handy if you’ve nearly finished and a full bucket goes flying!
Transfer the milk into the milk tote regularly, so the milking bucket is never too full.
Even if you have secured the bucket to the ground, keep an eye on the cow as you empty the milk bucket into the tote. She may kick it or bump you just as you transfer the contents of the overfull container.
As you empty the quarter, you’ll see the udder wrinkle as it becomes floppy and less taut. The streams of milk you’re able to obtain begin to lessen.
Make sure you strip out all the milk. You never want to leave any milk in the quarter if you want your cow to produce reasonable daily quantities of milk.
When you’ve finished milking, use the iodine teat dip again to prevent bacteria from finding their way into the teat as the teat sphincter remains open for a short while after milking.
Give the cow a treat, unclip her, and put her back with the rest of the herd if you have one. Lastly, clean and disinfect the containers, cloths, and teat dips.
Step 4 – Storage
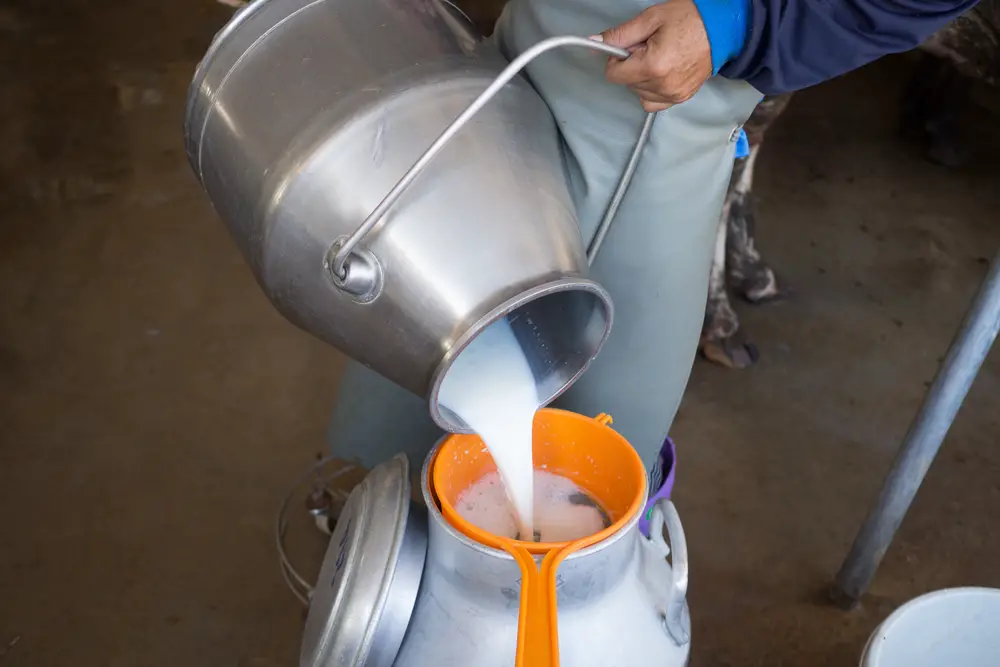
Filter the milk, and pour it into the jars or bottles. Use half-gallon Mason jars with plastic screw-on lids to filter the milk into. You’ll also need a fine-mesh filter or strainer and a funnel. The filter will catch any pieces of grass, dirt, or hay that might have become dislodged from the teat, udder or the underside of the cow while milking.

If you notice that the milk is slow to filter and is thick and lumpy, you should send a culture to the vet so they can check for disease or infection.
Use a strip cup to capture the culture. A strip cup has a dark cloth or fine wire mesh, which collects the milk and allows the detection of abnormalities like ropiness or clots. These features may indicate the presence of disease in the udder, such as mastitis.
Write the date on the plastic lid with a marker you can wipe off after transferring the milk. That way, you can reuse them. You could also write the date on a piece of tape.
Some people like to put the milk in a freezer for an hour and a half to two hours to bring the temperature down quickly.
However you do it, bear in mind that you should have the milk chilled to 38° F within an hour of finishing milking. Make sure the temperature of the fridge you are storing the milk in is set between 36 and 38°F or 2.2 to 3.3°C)
Raw milk should stay fresh for 7 to 10 days at these temperatures. You can drink it quite safely and use it to make dairy products like butter and ice cream.
Additional Cow Milking Tips
As stated at the beginning, so much of cow milking is trial and error, and seeing what works best is simply a question of trying different methods and finding one which suits you best.
Here are some tips to make your daily chore easier:
Working With Different Teats
Some teats are big enough to use your whole hand, while others are smaller. With smaller teats, you can only use your thumb and forefinger.
Milking like this is easy to start with when the udder is full but becomes trickier as it empties. You must adopt a technique that removes all the milk without hurting the cow or damaging the teat.
With smaller teats, you can slide the thumb and forefinger from the top of the teat to the bottom. This action is almost like squeezing toothpaste out of a tube.
With normal- and larger-sized teats, you can squeeze the upper part with the fingers and thumb. Although again, you need to work on the technique and endure a bit of pain as your fingers and thumbs become stronger.
Short-teated cattle are better suited to milking machines and are the most awkward regarding hand milking, so something to take into account when buying a family milk cow.
Staying Alert
One thing to bear in mind while milking is if you’ve got a “kicky” cow or one that likes to move a lot, you should be constantly aware of how they’re moving their hind legs.
If you see her suddenly lean away from you, you know she’s probably going to raise the hind leg nearest to you, either to take a step or to aim a kick at you! So instead of concentrating on the udder, keep a close eye on her back legs and how’s she shifting her weight.
Different quarters and halves produce different amounts of milk. It might be a good idea to milk any teat that you know is sensitive or difficult to reach first to get the difficult part of the milking over with first.
Milking Techniques
The better your technique becomes, the faster you’ll be able to squeeze the teat and squirt the milk into the bucket. You will see with time how much frothier the milk will become as you’re able to force the milk from the teat more effectively and efficiently.
As a beginner, this will certainly not be the case as you clumsily over-squeeze the teat or jerk it as you milk instead of using a smooth and consistent action! If you have big hands, you may find a cow with small teats very difficult to milk, especially at the beginning.
Creating A Routine
Cows are creatures of habit. Establish your plan of action and stick to the steps assiduously so the cow is as comfortable and settled as possible.
These instructions are just a guide and may not work for everyone. There are so many different cattle types, environments, and shapes and sizes of hands!
